Substack
Connect a Substack profile, handle, or publication URL in one paste
What is Connect Substack?
Many writers publish on Substack and the URL or handle is the easiest thing to find — easier than hunting for an RSS link. The Connect Substack action takes whatever you have (a handle like @lennysnewsletter, a publication URL like https://stratechery.com, or even a link to a single post) and turns it into a subscription that feeds your digest.
Once connected, a Substack source behaves exactly like any other source in Readless: it routes to a schedule, you can change that routing at any time, and new posts get summarized in your next digest alongside your newsletters.
How to connect a Substack
Connect Substack lives on the Sources tab.
- Open the Sources tab in your dashboard.
- Click + Add source in the top-right and choose Connect Substack.
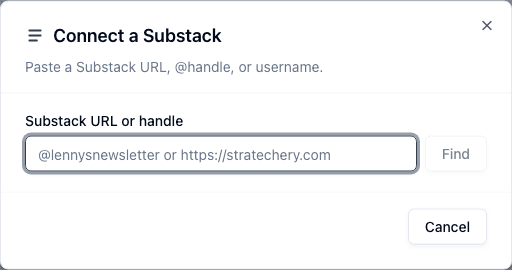
- Paste a Substack URL or
@handle(custom domains work too), then click Find. - Confirm the publication (or pick which ones, if the handle owns more than one), choose a schedule under Route to, and click Connect.
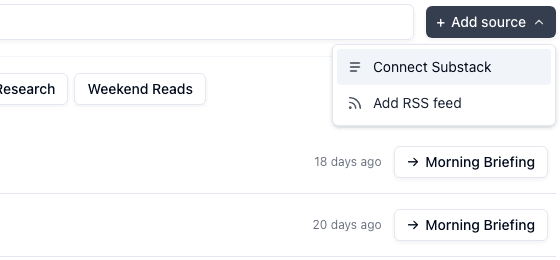
Choosing Connect Substack opens a single-field dialog.
Inputs we accept
- A handle:
@lennysnewsletter - A profile URL:
substack.com/@lennysnewsletter - A publication URL (substack subdomain):
https://lennysnewsletter.com - A publication URL (custom domain):
https://stratechery.com - A link to a single post on the publication's own domain — we resolve it back to the publication itself.
Confirming a single publication
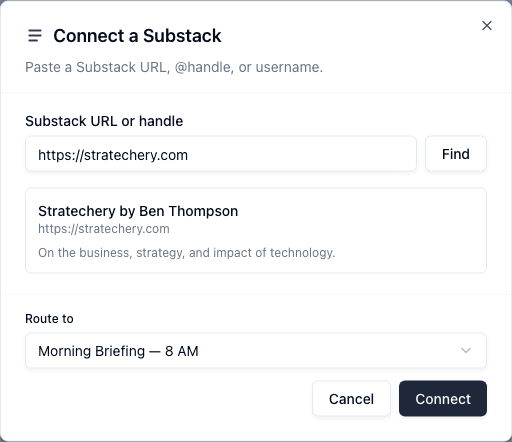
When the input resolves to exactly one publication — for example a publication URL — you see a short preview with the title, URL, and description. Pick the schedule you want it routed to and click Connect.
Picking from a handle with multiple publications
Some writers own more than one publication under the same @handle. When that happens Readless shows the full list, and you can tick the ones you actually want — up to 10 in a single add.
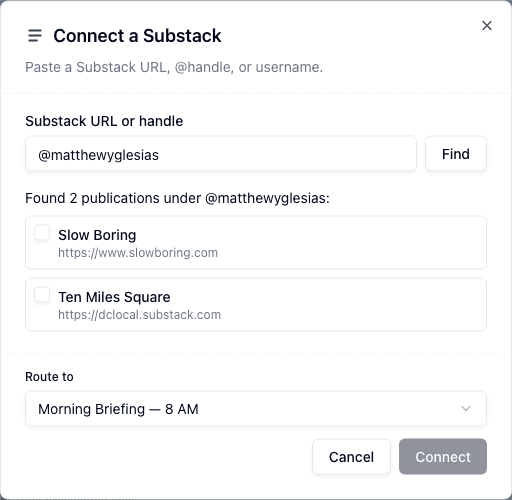
All the publications you select are routed to the same schedule. If you want different publications in different digests, connect them one at a time, or change the routing afterwards from the Sources list.
Where it lives after connecting
Each connected Substack appears in your Sources list with its own routing pill. Click the pill to send it to a different schedule, mute it temporarily, or remove the connection altogether — same controls as any RSS feed.
Free vs. paid Substacks
Readless pulls in public posts from any Substack you connect, whether the publication is free or paid. Paywalled subscriber-only posts can't be summarized — Substack doesn't expose them in the public feed.
If a connection fails
Most of the time Connect Substack works on the first paste. A few cases where it can fail:
- Handle doesn't exist — typo in the handle, or the writer renamed themselves. Double-check on substack.com.
- Feed unreachable — when picking several publications at once, occasionally one of them can't be reached and the dialog reports a partial result. The ones that worked are still added; you can retry the failed one later.
- Already connected — connecting the same publication twice is a no-op. Readless won't create a duplicate.
How it connects
- Sources — Where Substack connections live alongside newsletters and RSS feeds
- RSS Feeds — The general RSS path; use Connect Substack instead for any Substack-hosted publication
- Digest Schedules — Each Substack source routes to one of your schedules
- Getting Started — Back to setup overview